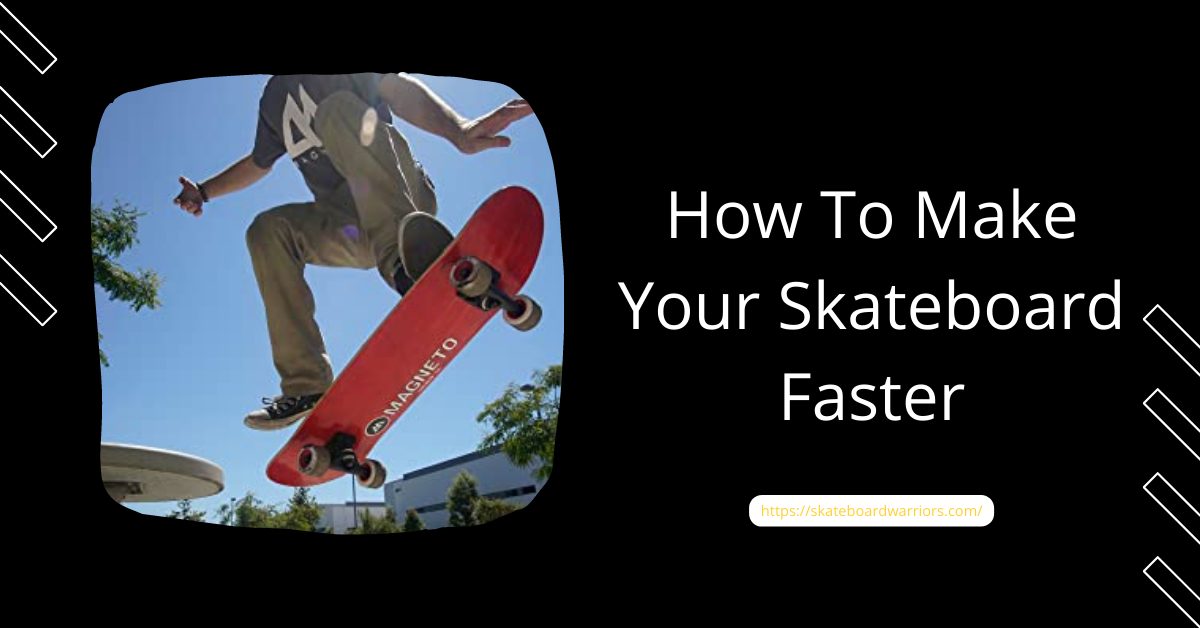
How To Make Your Skateboard Faster in 2024- Step By Step Guide
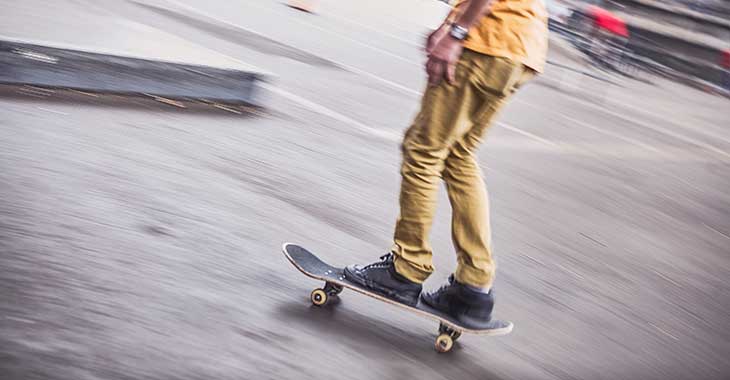
As we all know, skateboard bearings are like the heart and blood of a skateboard. If you’re like most skateboarders, you’re always looking for ways to make your board go faster. After all, speed is what makes skateboarding so much fun. In this article, we will Discover the mysteries of boosting your skateboard’s speed with our expert tips and techniques. Learn how to make your skateboard go faster and ride the streets with lightning-fast precision.
However, over time friction caused by riding will cause these to become dirty and slow down your run. That’s why we recommend cleaning them every week or two to keep your board running smoothly and fast. In this article, we will discuss the ways of cleaning skateboard bearings and how to keep them clean with a few simple steps.
If your bearings feel slow or stop spinning with moderate pressure then you should consider cleaning them. Dirty bearings will begin to significantly reduce the performance of your board, so it’s best to take care of them.
How To Make Your Skateboard Go Faster
How To Make Your Skateboard Faster
STEP 1 – REMOVE WHEELS
Using a screwdriver, pry off the wheel from the axle. Remove the bearing shields by firmly sliding your screwdriver between them and popping them out of their housing.
STEP 2 – REMOVE BEARINGS & SHIELDS
Use a bearing spoon or pick to remove the balls inside. Once all the balls are removed, tap out any remaining pieces by hitting your skate tool or a hammer on top of your bearing housing.
Now that you have removed all the components, it’s time to clean them up. The first thing you want to do is use your bearings cleaner spray down one side of each bearing and let them sit for about 10 minutes.
Next, hit the bearings with a toothbrush to break up any contaminates and let them dry for 15-20 minutes before you put them back on your wheels.
Once they are nice and clean, go ahead and re-install your bearing shields making sure that both sides of each seal are in place.
Put your newly cleaned and dry bearings back into their housing and move on to the next step, re-installing your best skateboard wheels.
STEP 3 – SOAK BEARINGS IN CLEANER
Get a container that you can soak all of the components in and fill it with a cleaning solution. Put all of your bearing shields, spacers, and wheels in, and let them soak overnight. The softer plastic parts may be a little cloudy after you remove them, but all that cloudiness will go away after they dry out.
STEP 4 – DRY AND LUBE
After your bearings have soaked, take them out and put them on some paper towels to dry for an hour or so. After they are dried out, re-lube your bearings using a high-quality bearing lube like Venom’s Super High-Performance Bearing Lubricant. Super lube is great lubrication because it won’t attract dirt and dust which can ruin your bearings.
STEP 5 – REPLACE SHIELDS AND MOUNT BEARINGS
Replace all of your bearing shields and give them a good push to make sure they are sealing properly (no dust or dirt should penetrate the shield). Mount your wheels onto your axles. Tighten them down until they are snug, but don’t overtighten them.
STEP 6 – TEST IT OUT
Once you have put everything back together, it’s time to test out your new bearings. Push with one hand on the bottom of the board and give yourself some speed. Then use your other hand to push on the top of the deck. If you feel any resistance, your bearings may need to be broken in more. After a few runs, they should make it around with little effort.
If at any point during this process your bearings are feeling “gritty” or you hear an annoying grinding noise, your bearings are probably toasted and will need to be replaced.
How often should I clean my skateboard bearings?
It’s not an easy question to answer, it really depends on how much you skate and what type of skating you do. For example, freestyle riding will cause more wear than cruising or commuting because of the nature of grinding and sliding. Generally, I would say at least once a month but it really depends on your skates.
Cleaning Your Bearings The Wrong Way:
Cleaning your bearings is one of the easiest parts of maintaining the best skateboard brand. All you need is a little bit of dish soap, paper towels, and a bowl or container to hold them in while you wash them up. By no means should this be difficult – but it can be if you do it the wrong way.
The biggest problem people usually run into when cleaning their bearings is that they don’t dry them off properly or they leave excess soap and moisture inside. It’s important to remember that the shield of your bearing keeps sand, dust, and other particles out and holds them in a thin layer of air which helps protect them from rust, corrosion, and other factors. If your bearings are still wet when you re-install them they might get damaged by condensation in the long run.
Another common mistake people make is that they forget to wash off the dirt. I know this seems silly but if it can happen easily then it can probably happen to you too. The soap you use to clean your bearings is going to remove any dirt or grime on the outside of them so there’s no need to rub them down with a rag or paper towel. If they’re already perfectly clean then just go ahead, wash them and you can also use the best clear coat on your board.
Cleaning Your Bearings The Right Way:
Sometimes cleaning your bearings might sound like a daunting procedure if you’ve never done it before but don’t worry – it’s really easy. Once you get the hang of it, this is something you can do in about 15 minutes or less.
1) Let’s get started. Turn your bearing over in one hand and take it out of the race using your other hand. Moreover, turn them upside down to make sure that all of the dirt and dust fall right out. This is usually a good idea when you’re cleaning bearings, in general, to get rid of any particles which might still be stuck inside.
2) You’ll notice that your bearing has grooves around the edge that hold the rubber shields in place – these are what keep moisture, soap, and other elements out of your bearings while they’re spinning. Remove these using a small screwdriver or key.
3) Now that you’ve removed your shields it’s time to wash them. Grab a bowl or container and fill it with a bit of dish soap and some hot water. Swish everything around until you’ve made a nice soapy mixture. This is going to help break down any grease on the outside of your shields.
4) Add your bearings into the container and gently shake for about 30 seconds to a minute. Try not to let them sit in the water for too long or else they’ll rust and corrode.
5) Now it’s time to wash your bearings. Dump out the soapy mixture and fill your container up with clean hot water. Most skaters like to use bottled water instead of tap water because it usually has fewer minerals and other elements in it. Swish your bearings around in the water for about 15 seconds to get rid of any soap residue.
6) Drain the wash water out and fill up the container with clean cold water. This step is very important because the cold water helps to prevent your bearing shields from warping or heating up while they dry. Swish your bearings around in the water for about 10-15 seconds before draining it out. Leave them upside down somewhere to drip dry for a few minutes.
7) Repeat steps 5 and 6 if necessary until all of the soap residues are removed from your shields. This will probably be somewhere between 2-5 washes depending on how dirty your bearings were.
8) Once all of the soap is off, it’s time to dry them off. Grab a paper towel or rag and press it down onto your bearings for a few seconds to soak up any water. Repeat this a few times until no more water comes out. You should be left with perfectly clean shields which will quickly dry if you lay them out in a sunny place.
9) Once all of the water is gone, it’s time to add a few drops of bearing oil inside each bearing. This will help your bearings spin smoothly and last longer. Be careful not to use too much or else your bearings will end up slimy and icky over the long run.
10) Mix your bearings around a bit with the paper towel to spread the oil evenly and absorb any excess oil/grease which might have been left behind from the manufacturing process.
How to clean skateboard bearings with household items?
After a while of skating, you will realize your bearings are binding and not spinning as smoothly as they used to. The best way to combat this is by taking your bearings out of your wheels, cleaning them thoroughly, and replacing the bearing grease. if you want an in-depth guide on how to get all that gunk out of your bearings.
You will need white vinegar (any kind of vinegar can be used, but white is the most effective at dissolving grease), a bowl/cup/container to hold your bearings in the vinegar. The top of a double boiler or two pots. this process is done by boiling water on top of one pot and then placing your bearings into the top pot with vinegar
A toothbrush, any bristles. (Get something cheap if you don’t want to waste money)
An old rag/towel or paper towels to wipe off the grease and dry your bearings.
After all, apply the following steps
1.) Place bearings in a container of choice (Mostly skaters use an old metal cup)
2.) Pour white vinegar into your container and it’s enough to completely submerge your bearings.
3.) Get the top of a double boiler ready, you’ll want it boiling water in about 5-10 minutes once you place them in there. Make sure the water is not touching the bottom of the top pot.
4.) Place bearings into the boiling water for about 10-15 minutes. I am using a metal fork to keep my bearing pressed into the pot since it floats on top of the vinegar. You may need to adjust the time depending on how much grease is in your bearings.
5.) Get your toothbrush wet, then dip it into the vinegar. Start scrubbing your bearings with the toothbrush, you should see residue and grease starting to come off. Continue brushing until all of the greases are gone.
6.) Get your rag or towel (preferably paper towels) and wipe off any excess grease that may be left on your bearings. Make sure they’re completely dry and you also know how to make the skateboard.
7.) Using a q-tip, cotton swab or your fingers apply a small amount of bearing lube onto the metal parts that need oiling. Be careful not to get any in the center of the bearing since it shouldn’t have any grease and can ruin your bearing if you don’t wipe it all off.
Conclusion:
Cleaning your bearings may take a while, but it’s worth the wait. Your wheels will be spinning like new and they’ll last as long as you maintain them (send them back to the factory as necessary) so don’t think twice about cleaning them. Happy Skating.
FAQs
How do I make my skateboard faster?
Some of the most popular modifications include larger wheels, which will make your skateboard roll faster; and faster bearings, which will spin more quickly and thus make your skateboard go faster. You can also get special trucks that are designed for speed, though these can be more expensive.
Which force slows a skateboard?
Friction pushes against the wheels’ motion and slows the board. A rider can also stop their board by stepping on the back of it, so the board’s deck scrapes the ground. This creates a lot of friction between the board and the ground, which works against the board’s motion and slows it to a stop.
How do you control a skateboard?
As you’re skating, pivot your front foot so that it’s parallel to your board, as if you’re about to push off. Place your back foot on the ground, just in front of the rear bolts of your board, without pushing off. You should be able to stop with the sole of your shoe.