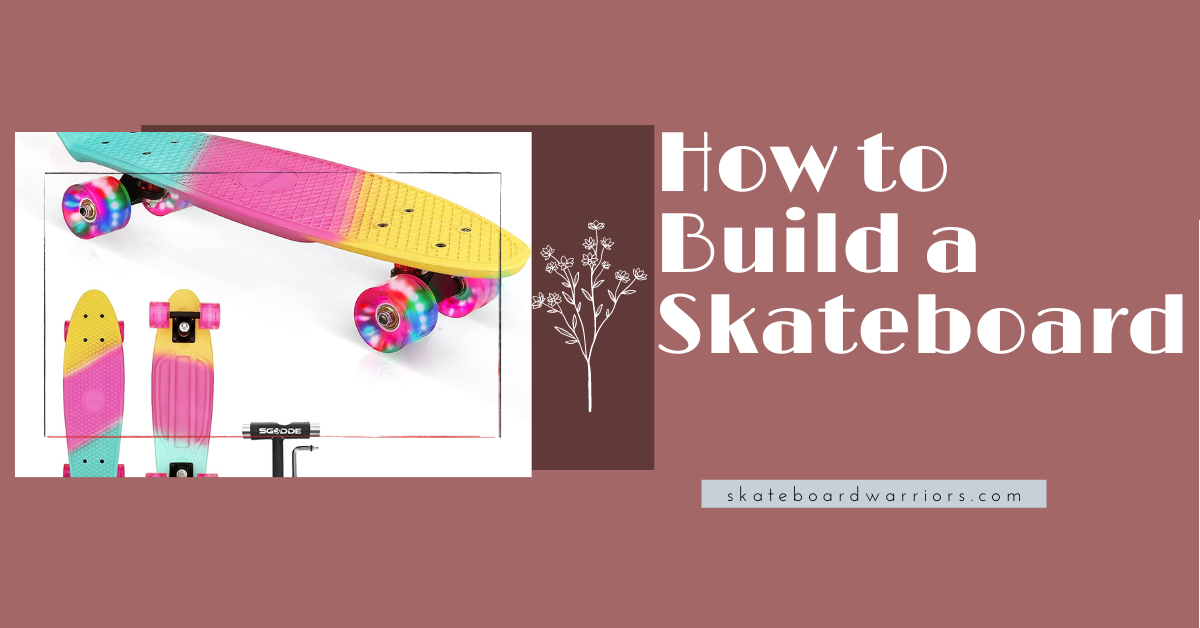
How to Build a Skateboard in 2024
Building a skateboard is not as difficult as it may seem. With the right tools and materials, you can easily put together a great skateboard that will last for years to come. Here are the key steps to building a skateboard:
Tips to customize a skateboard
Following are the key Steps For How To Make And Build A Skateboard: A Beginners Guide
Set a budget for your custom board.
You will need to factor in the cost of the deck, trucks, wheels, and other hardware. Many pro shops will put together a complete custom board for you, but it will be more expensive than if you do it yourself.
You can find decent-quality decks for around $50-$70. The cost of trucks and wheels will vary depending on the brand and quality, but you can expect to spend around $100-$150 for a good set.
How to Build a Skateboard?
To get started, you will need:
- -A skateboard deck
- -Trucks (2)
- -Wheels (4)
- -Bearings (8)
- Bearing spacers (4)
- -Nuts and bolts
- Grip tape
- 1 Razorblade or crafting knife
- 1 Skateboard hardware kit (8 nuts and bolts)
- 1 Skate Tool
- 1 Skateboard deck
Find the right size Deck
The deck is the main part of any best skateboard, so it’s important to choose one that is the right size and shape for you. There are many different brands and styles of decks to choose from, so take your time to find the one that feels right for you. Start by cutting the wood to size according to your chosen skateboard design. Next, use the drill to create pilot holes for the screws. Once the pilot holes are in place, begin screwing the decking to the trucks.
Get your deck and grip tape.
Most pop decks are made of seven-ply maple wood and come in a variety of widths and lengths. The grip tape is black, and sticky, and covers the top of the deck. It’s there to provide traction so your shoes don’t slip when you’re skating.
Get your trucks and wheels
Choose your trucks. Trucks are metal axles that attach to the bottom of the deck and hold the wheels in place. There are many different brands and styles of trucks to choose from, so again, take your time to find the ones that feel right for you.
Choose your best skateboard wheels brand. Wheels come in a variety of sizes, colors, and durometer ratings. A durometer is a measure of hardness, and it’s important to choose wheels that are the right hardness for your skating style.
Putting the Grip Tape on Your Deck
The first step is to find the center of your deck. Once you have found the center, take your grip tape start from the middle of the deck, and work your way out. Make sure that you are pressing the grip tape down as you go so that there are no air bubbles. Once you have finished applying the grip tape, take a sharp knife and trim off the excess.
Sand the grip tape edges.
Use a Sharpie to make an outline. Tape the deck together. Leaving about an inch on each side, cut the excess tape off with a razor blade. Put on the trucks. Tighten the kingpin nut until there is no play in the truck.
Attaching the Trucks and Wheels
Now it’s time to add your trucks! The first step is to find the holes in your deck. Once you have found the holes, line up your truck baseplates with the holes. Next, take your bolts and tighten them until they are snug. Do not overtighten the bolts, Trucks are a essential component of a skateboard that instantly affects how it rides and performs, making them a key reference for skateboarders of all skill groups and styles.
Insert your screws.
At this point, you will need to put the screws into your deck in order to attach your trucks. Typically, there are five screws that go into each truck. Two of these screws will be placed in the front of the truck, while the other three will be screwed in from behind.
Attach the trucks.
Tighten your trucks. Next, you will need to attach your trucks. The process is simple: locate the two holes at the base of each truck, line up the bolts with the holes, and screw them in place. You will need a Phillips-head screwdriver to do this. Once the trucks are screwed in, tighten them using a wrench or a socket.
Insert your bearings.
Now it’s time to add your bearings. Bearings go inside the wheels and allow them to spin smoothly. You’ll find that most skateboards have eight bearings; four on each axle. To put them in, gently push each bearing into its housing until it “clicks” in place. You can use a bearing press or just your fingers—but be careful not to damage the bearings or the housings.
Attach your wheels.
Finally, you need to attach your wheels to the trucks. The trucks are L-shaped metal pieces that hold the wheels in place. To do this, you’ll need to unscrew the bolts that hold the truck together using a skate tool or a regular wrench. Once the bolts are loose, slide your wheels onto the axles and screw the bolts back in place. Be sure to tighten them securely, but don’t over-tighten or you could strip the threads.
Make sure everything is tightened and tuned.
Check your trucks to see if they’re loose or need tightening. Also, make sure that your wheels spin freely without any rubbing on the axle or hanger. If something is rubbing, it will eventually damage your board. You should also clean and lubricate your bearings periodically with bearing oil or lube.
Video Guide
Conclusion:
This is a comprehensive way to build a skateboard. You need to know the parts of a skateboard, how to put them together, and the different ways you can personalize your board. With these tips in mind, you’ll be skating in no time.
People also ask
Can you build a skateboard at home?
Making a skateboard is, surprisingly enough, not as hard as most people think. Making the deck, or wooden board, only requires a basic knowledge of carpentry, a jigsaw, a skateboard mold, and a vacuum press, but even these can be made at home with a little patience.
Can you skateboard on wood?
While it’s possible to skateboard on hardwood floors, these are commonly quite tricky and hence dangerous for newbies.